Showing posts with label bathroom updates. Show all posts

Monday, March 06, 2017

Progress on the Bathroom

This week we have really worked hard to get this bathroom into the homestretch.

As I told you last week, this is the main bathroom in our home and the one that McG and our son share.

We knocked the following projects off our to-do list this week...

1.  sanded and re-stained/varnished the door and added new hardware - we used a satin varnish instead of the high-gloss that was on them previously


2.  Painted the walls a soft grey called "just chillin'" by Beauti-tone from Home Hardware.  It was a kitchen and bath paint in a velvet finish. We also painted the ceiling and trim a fresh coat of white.


3.  We installed a new counter-top but kept the same sink.  We also added new faucets.


4.  McG installed the new light that we purchased at IKEA - the VIPPARP

 5.  Next McG mounted the new wall hooks I purchased from Home Sense, along with the new toilet   paper holder and towel rack.  He made mounting blocks for the toilet paper holder and towel rack and stained them to match new cabinet color.


6.  He re-attached the cabinet doors and hardware, while I added the new shower rod and curtain. We also added a smaller mirror that we purchased at Home Sense.


Next up we are replacing the flooring and adding new baseboards - then we can mark this room off the to-do list!

Here's a look at the room so far...


Here's a side by side view of the before and after...


I'm loving the transformation so far and can't wait to show you it fully finished with the new flooring and trim!

Cheryl

Sunday, February 26, 2017

Moving at a slower pace...

Like many of you I follow a whole whack of bloggers...and I am amazed at the pace they seem to get their projects done.  McG and I worked at a fast pace when we first moved here, but these days projects seem to take a whole lot longer to complete.

We started our main bath reno right after Christmas...we seemed to get the cabinets refinished quickly but the rest of the room has been moving at a snail's pace...

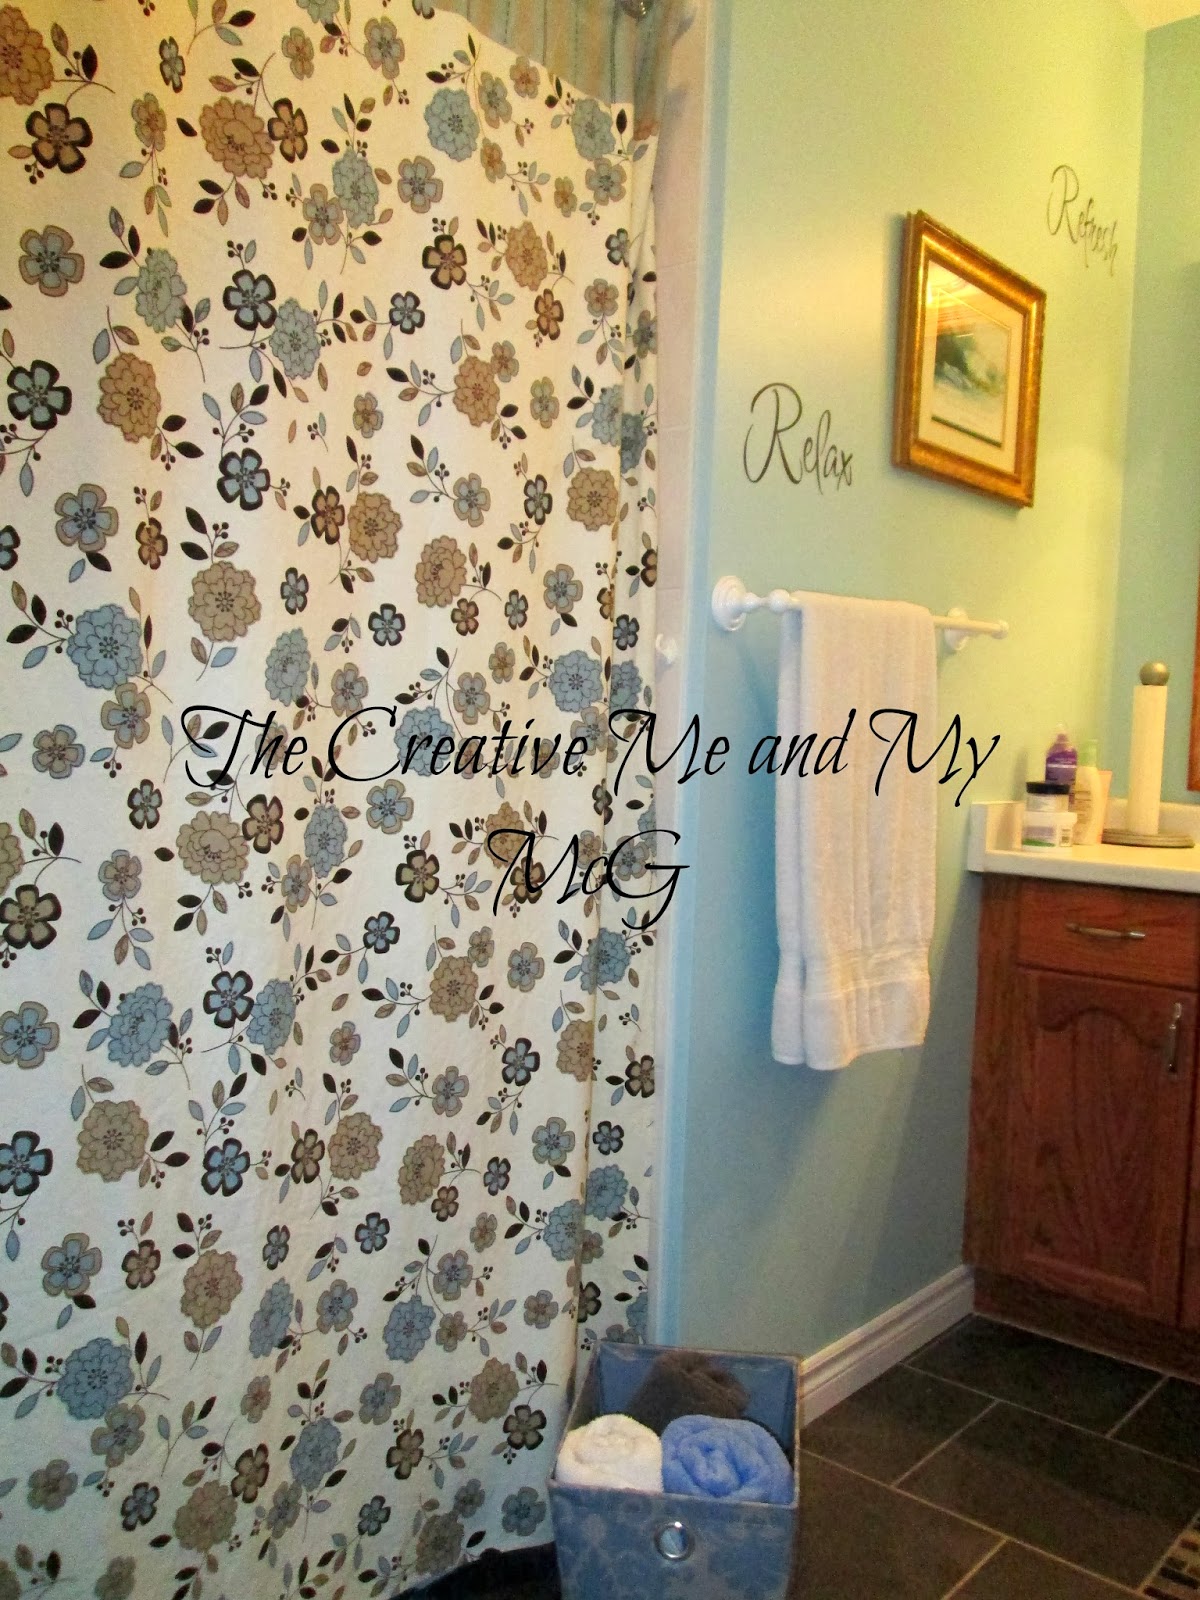
Here are some BEFORE photos to give you an idea of what we started with.


Green walls, walnut cabinets that were pretty tired and worn.


Pretty 1980's...(I didn't even crop out that empty toilet paper roll...that's how real I'm keeping it today!)


A great big mirror..


And some slate tile flooring and pretty worn trim.

Now for the plan.  I had wanted to enlarge the bathroom by stealing some square footage from a small bedroom that backs on to the bathroom.  McG, however, felt that we should keep the bedroom as is for a storage/weight room option.  I have to confess that I don't usually give in, but for now, I'm letting him think that I did.  I agreed, for the time being, to give the bathroom an overhaul without changing the footprint.  So this room is getting the following updates.

1.    Paint - a light grey called "just chillin'" - in a Beauti-tone kitchen/bath paint
2.    Sanded and re-stained the cabinets in a weather grey/brown finish
3.    New white trim and baseboards
4.    New counter top
5.    New faucets
6.    New light fixture
7.    New mirror
8.    New flooring
9.    New fan/light switches/ground fault electrical outlet
10.  Sand and restain the bathroom door and add new handles

We have purchased everything and are in a state of limbo.  The cabinets are done - we didn't replace the hardware because we did that when we moved in.  The door has been sanded, stained and the new handles are on.


We have done some patching and sanding of the drywall and new electrical and a fan was put in.

The first coat of paint went up today (Saturday) and the second will go up tomorrow morning (Sunday).  WE ARE WEEKEND WARRIORS!!!

I am hoping that if we can pick up the pace, the bathroom will be completed and put back together 
by the end of next weekend!!

Finally, to really let you know that DIY is not glamorous, I had a counter top and sink, along with the upper tank to the toilet as decoration in my entryway today!


I can't wait to be able to show you the finished room!

Cheryl

Friday, November 08, 2013

Bathroom Updates...Painting the Trim White

A couple of weeks ago I told you that we were in the processing of painting the trim and doors in our private upstairs spaces...from yucky orange stain - to lovely bright white!

This is a process that we started last fall in our kitchen and living/dining room.  I have been loving the look and really wanted this project to happen last spring, but McG likes to be outside working on projects in the nice weather, so this one got put on hold.

I showed you here part one of our painting.  We decided to put in all new baseboards in the bathroom and bedrooms, just as we did in the rest of our upstairs space....The reason, we need the stained baseboards from up here to finish off the rooms in the basement  that currently have no baseboards.  And since these are already stained to match what is down there, we are opting to re-use those down there.  We cannot find wood to match these anymore since they were installed when we built the house in 1996 and since we have changed the rest of this floor to a wider white trim, it only makes sense from a cost savings point of view to do this.

We had a date night at Lowes last weekend and purchased enough trim to complete all the rest of the rooms upstairs.  We've purchased MDF pre-primed baseboards since they will be painted white anyway. It  makes sense to save a step and not having to prime them!  After painting two coats of semi-gloss white, McG cut and installed the trim last night.  It was good because he just had to use the trim he removed as a guide for cutting the new pieces.


He used paintable white caulking between the pieces and wiped off any excess that came through the seams.


Then he nailed them in using his nail gun and compressor.


I love how great the new white trim looks against the charcoal grey colour of our floor!


And this is the cheap laminate cabinet that matched our cabinets - I was able to persuade him to paint that, but not the actual wood cabinets.  He does like the look of white cabinets, but since we are going to be selling our home in the near future, he was afraid that "painted" cabinets would scare off some buyers.  I, on the other hand, think the opposite is true, so I guess we'll have to wait and see what happens.


(The above picture was taken before the trim was installed)


Here's a side-by-side view of the bathroom with the stained trim and now with the white!


I am really loving how the white trim is brightening up the room - I guess the shower curtain helps too!  This is one we've had for a number of years now...just recycling that into the mix too!

The new trim for this room cost us just $15 - 3 pieces @ $3.98 plus tax! Definitely a cheap upgrade!

This weekend we are continuing on into the master bedroom with painting and replacing of trim...

What are you up to this weekend???  We'd love to know what projects you are tackling!!

Cheryl

Wednesday, October 23, 2013

Changes to the Bathroom - Part One


We had our home built in 1996 and at that time we had chosen to have stained trim and doors...
and it looked great with our oak kitchen and bathroom cabinets.

Fast forward to 2013 and those orangey trim and cabinets are really out of style. 
 Last fall we painted all the trim and doors in the public spaces of the main floor of our home.
Now it's time to take that white paint to the trim and doors in the more private spaces,
 like the bathroom and bedrooms.

Here's a shot of our main bathroom with the oak cabinets and stained trim.
You can see in the hallway we had already changed the trim to white.


 Last time I sanded and then painted four - yes four - coats of paint to cover the orangey stain 
(while McG was away hunting...he had no idea that was a project we were going to tackle)
This time I talked McG into purchasing some primer...He was skeptical because in his mind, 
the proper way to do it was to sand it first - BOY he can be hard headed sometimes!


I did some research (aka other bloggers!) and found that this primer was well liked as one that could eliminate the sanding step. 
 Although he was still unsure, McG agreed to try it - and guess what...
He Loved It!


It went on smooth and covered that orange stain with one coat.


Doors that used to look like this in our hallway...


and don't you just LOVE those brass door knobs!


Finished up they now look like this...


We even used some paint to change out the door knobs and hinges as well.


So there is a peek at what we've been up to this week.
I haven't quite talked him into painting the oak cabinets 
- YET
but I did get him to paint the cheap laminate storage cabinet we have in there.

I am working on getting the bathroom back together - I will be sure and show you that cabinet next week!

This was NOT a sponsored post, but I would definitely recommend both the primer and the spray paint!


Cheryl
Linking up @:
The Blissful Bee