Saturday, January 31, 2015

Implementing the Plan

Last week I shared with you a mood board I created for my Master Bath...


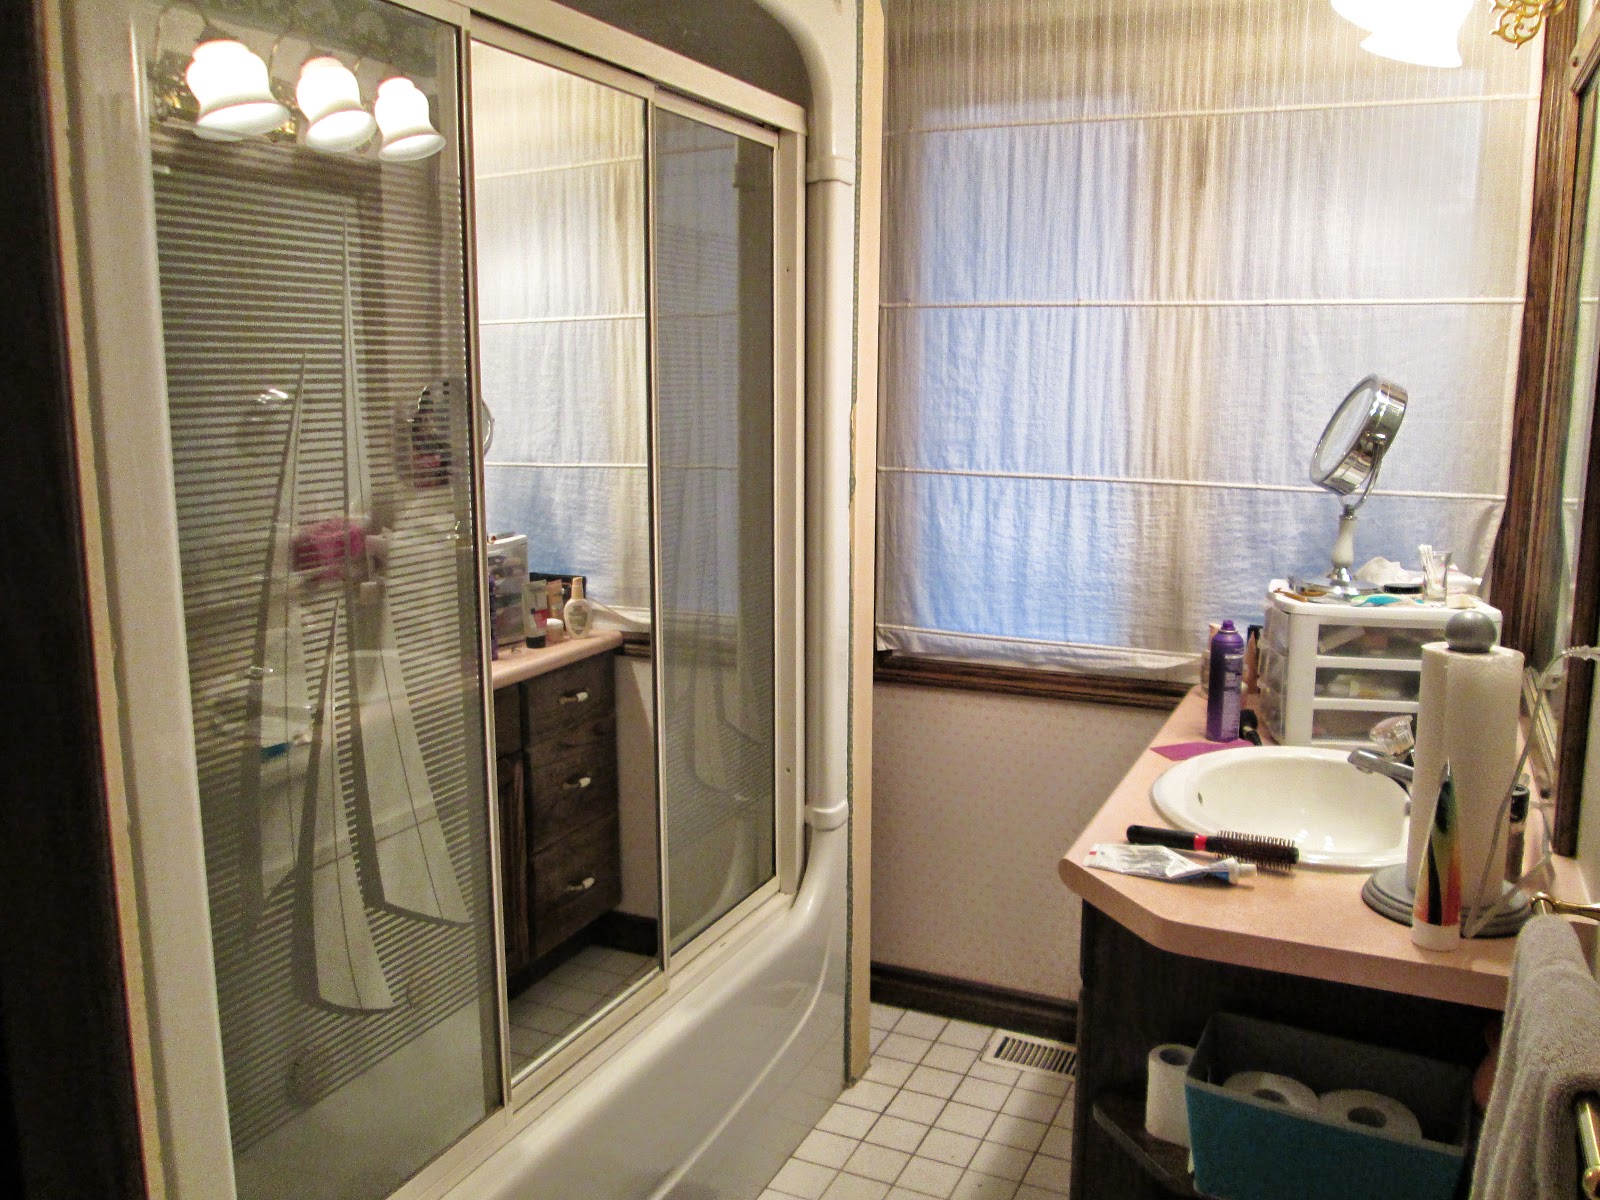
I also shared the BEFORE picture that showed you where we started...
I had taken down the wallpaper shortly after we moved in,
 knowing that this would be one of the first rooms we would update.


We've gotten rid of the blind and painted the window frame a crisp white. 
 The baseboards will be replaced with new ones once the room is painted.
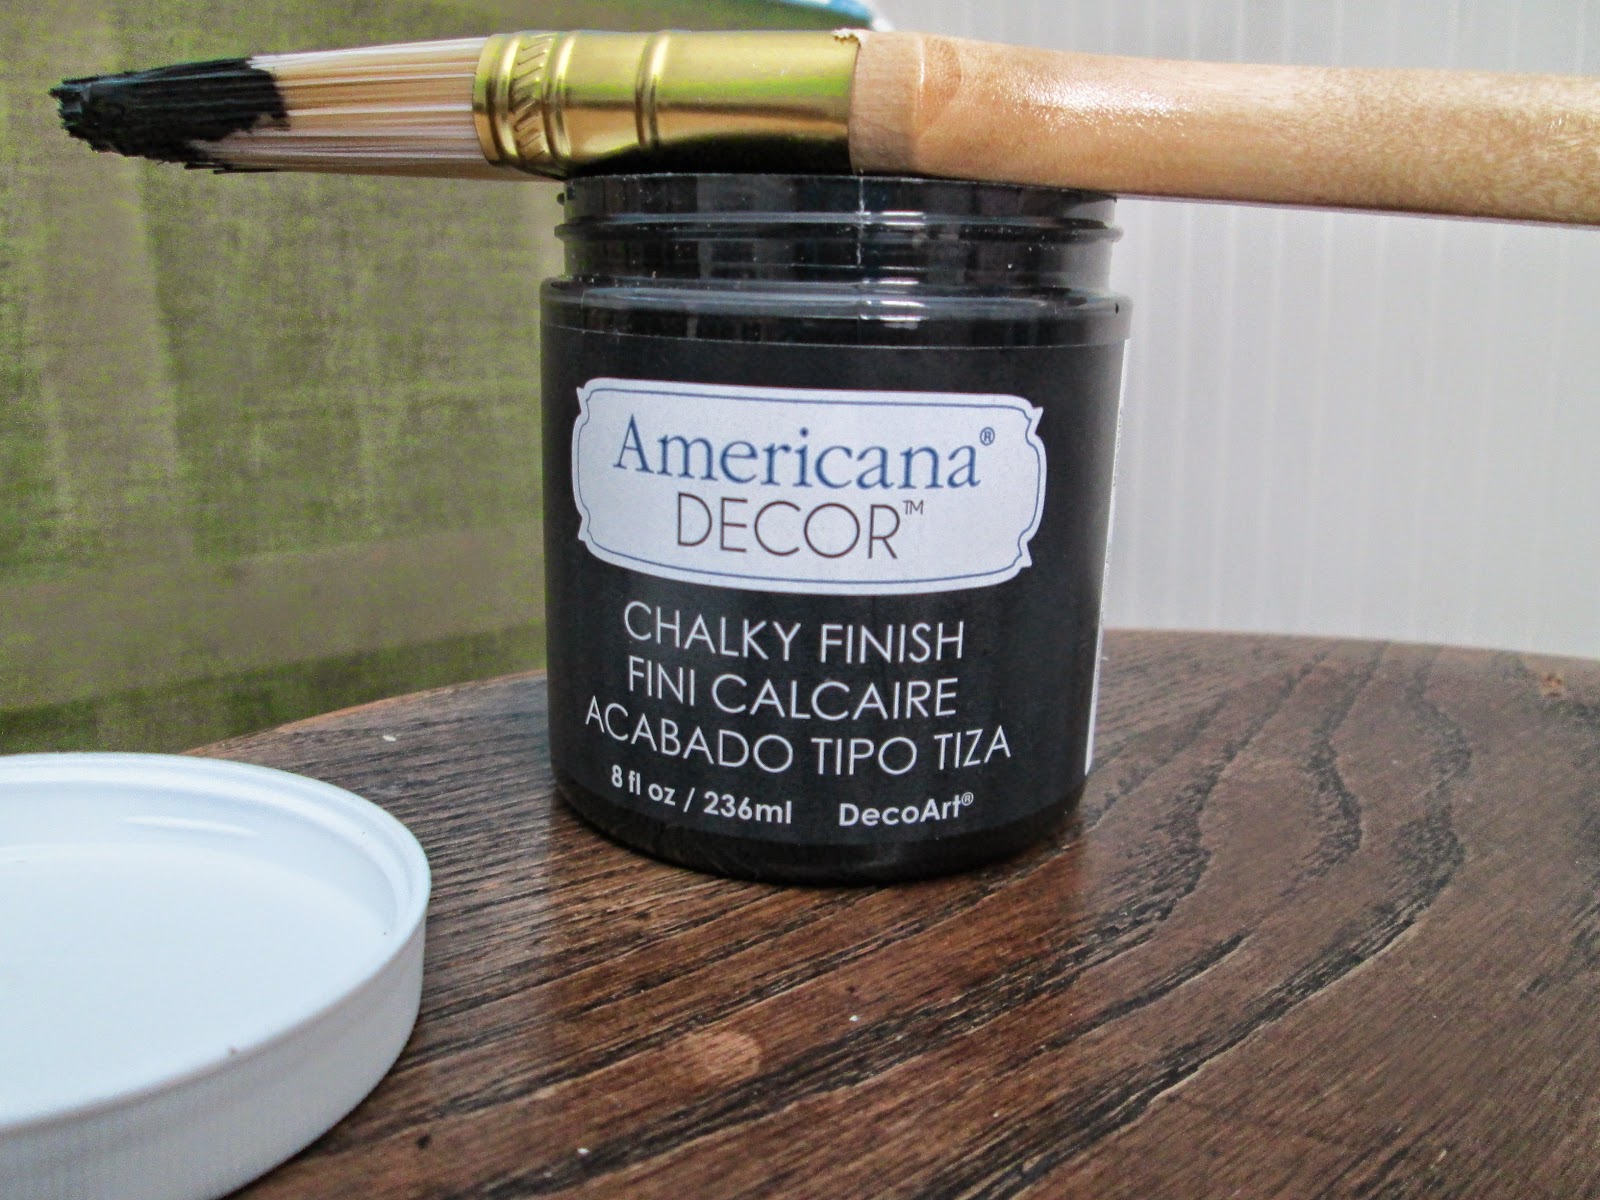
The walnut cabinet has been painted with black chalk paint from Americana Decor
 that I purchased at my local Walmart. 
 The color is called Carbon.  
It was my first time using a "chalk paint" and I have to say it went on beautifully!
I AM NO LONGER A CHALK PAINT VIRGIN!


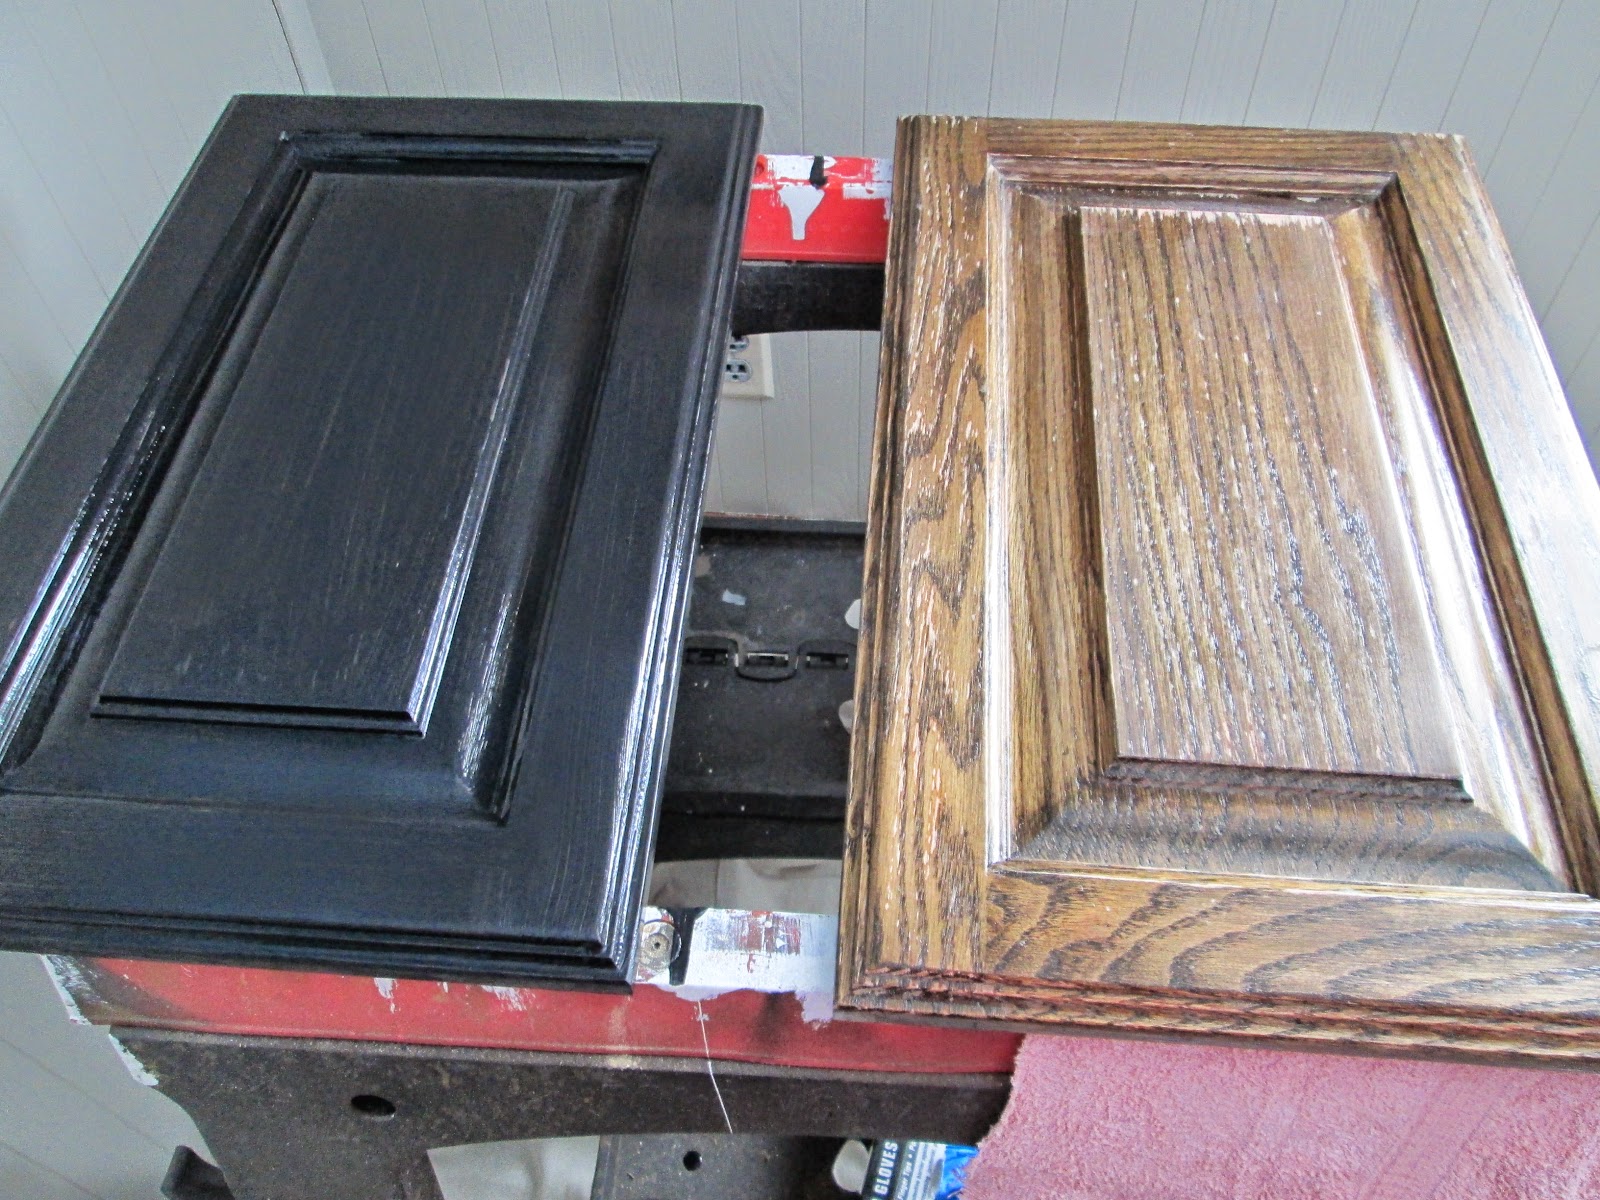
It covered without brush strokes. 
 I used two light coats and then McG put two coats of polyacrylic on overtop.
  It is amazing the transformation it made on the cabinet!


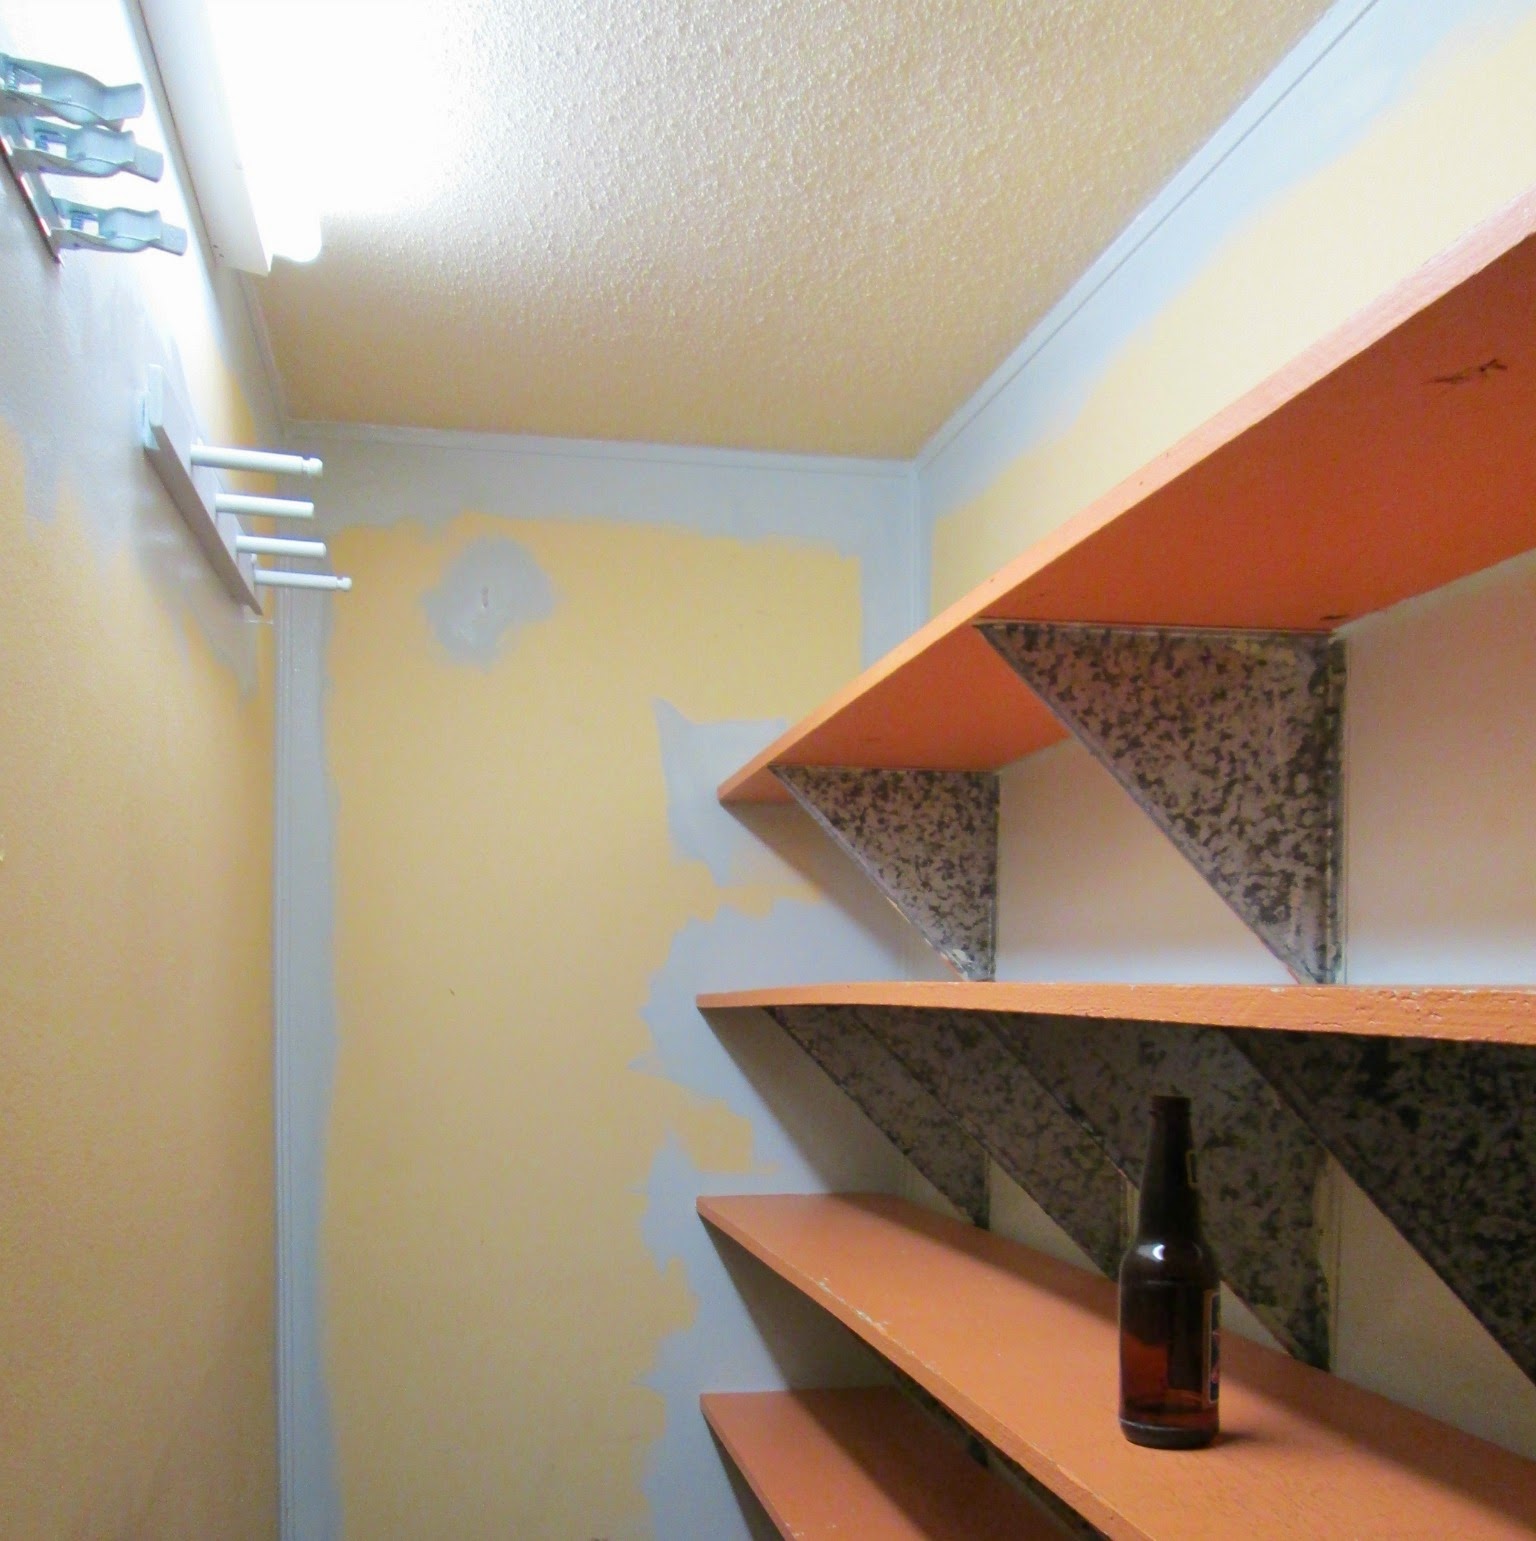
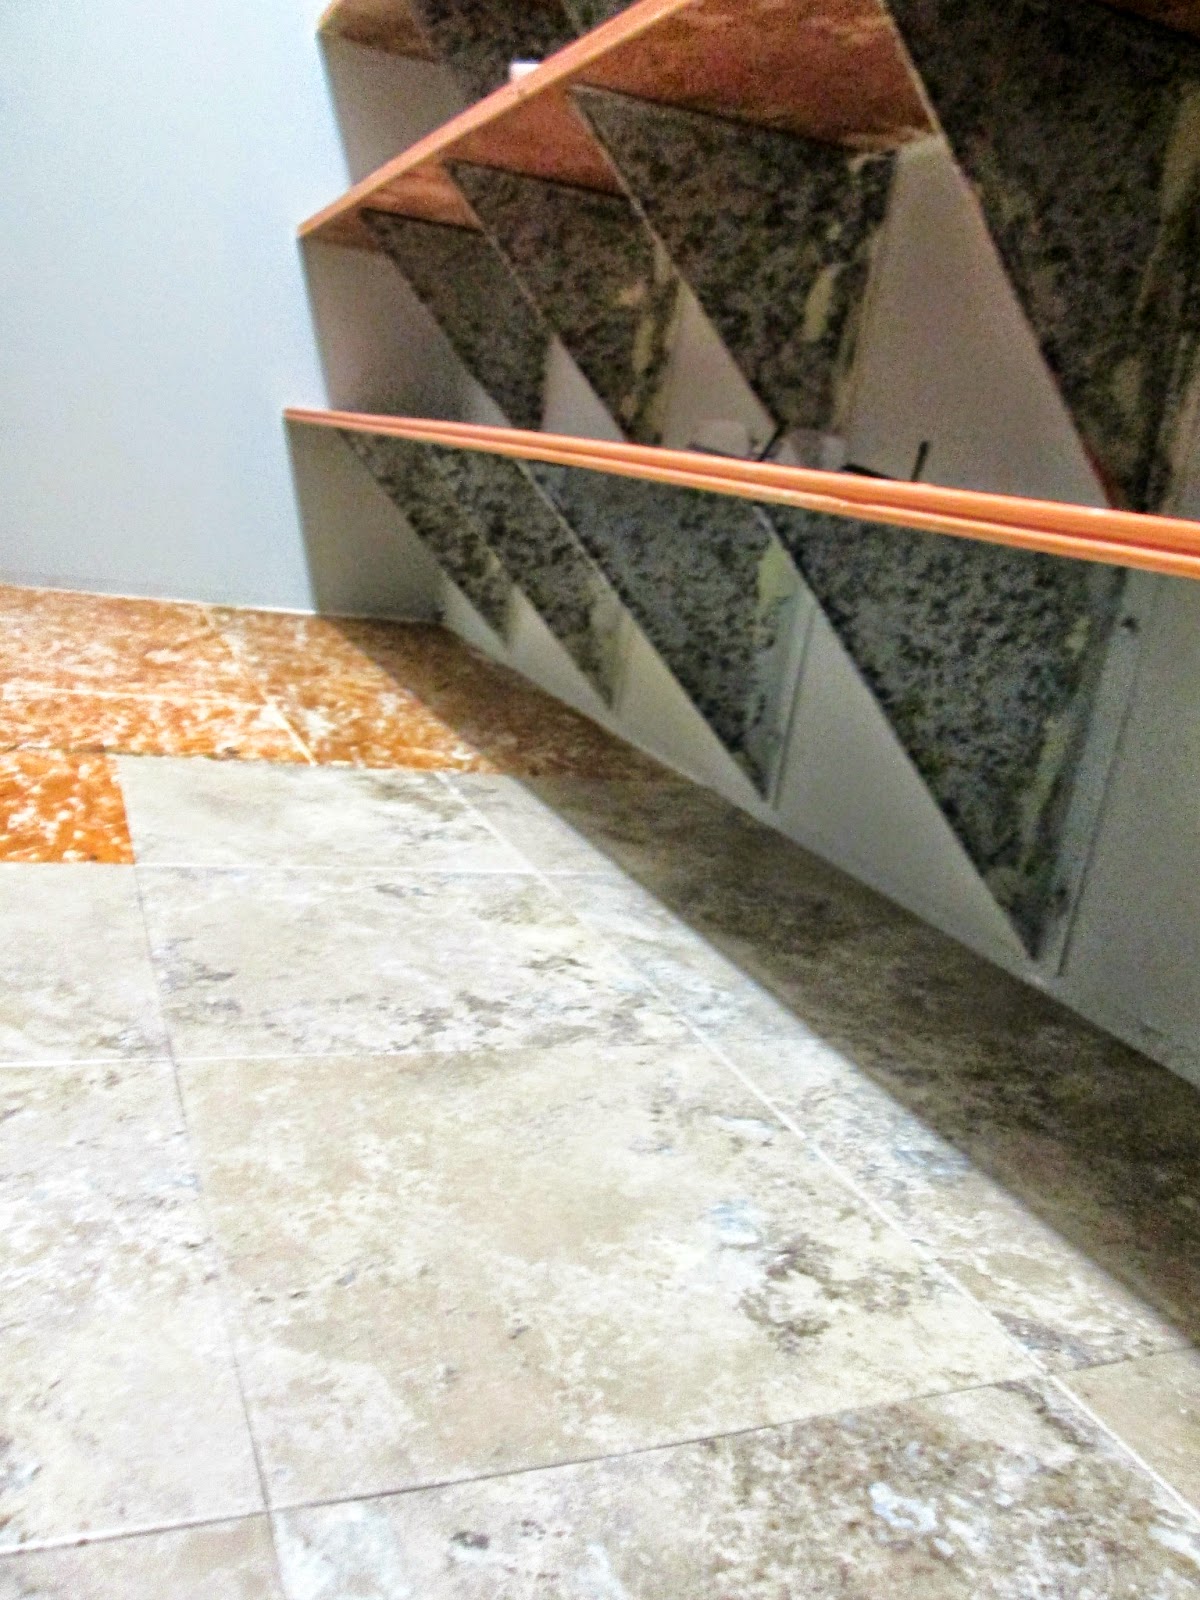
But we still had this to contend with...


A "peachy-keen" countertop! 
 It is custom fitted to the cabinet so I wanted to find a way to re-use it if I could.


 Purchasing a new laminate countertop would cost me about $60, but I want to try a
painting technique.

I headed to Pinterest and found this beauty from Gorgeous Shiny Things


I also found this tutorial from Life of Lauren Lou on how to paint your countertop to
look like granite.  
This technique looks a little easier, so I'm not sure which one I will do.


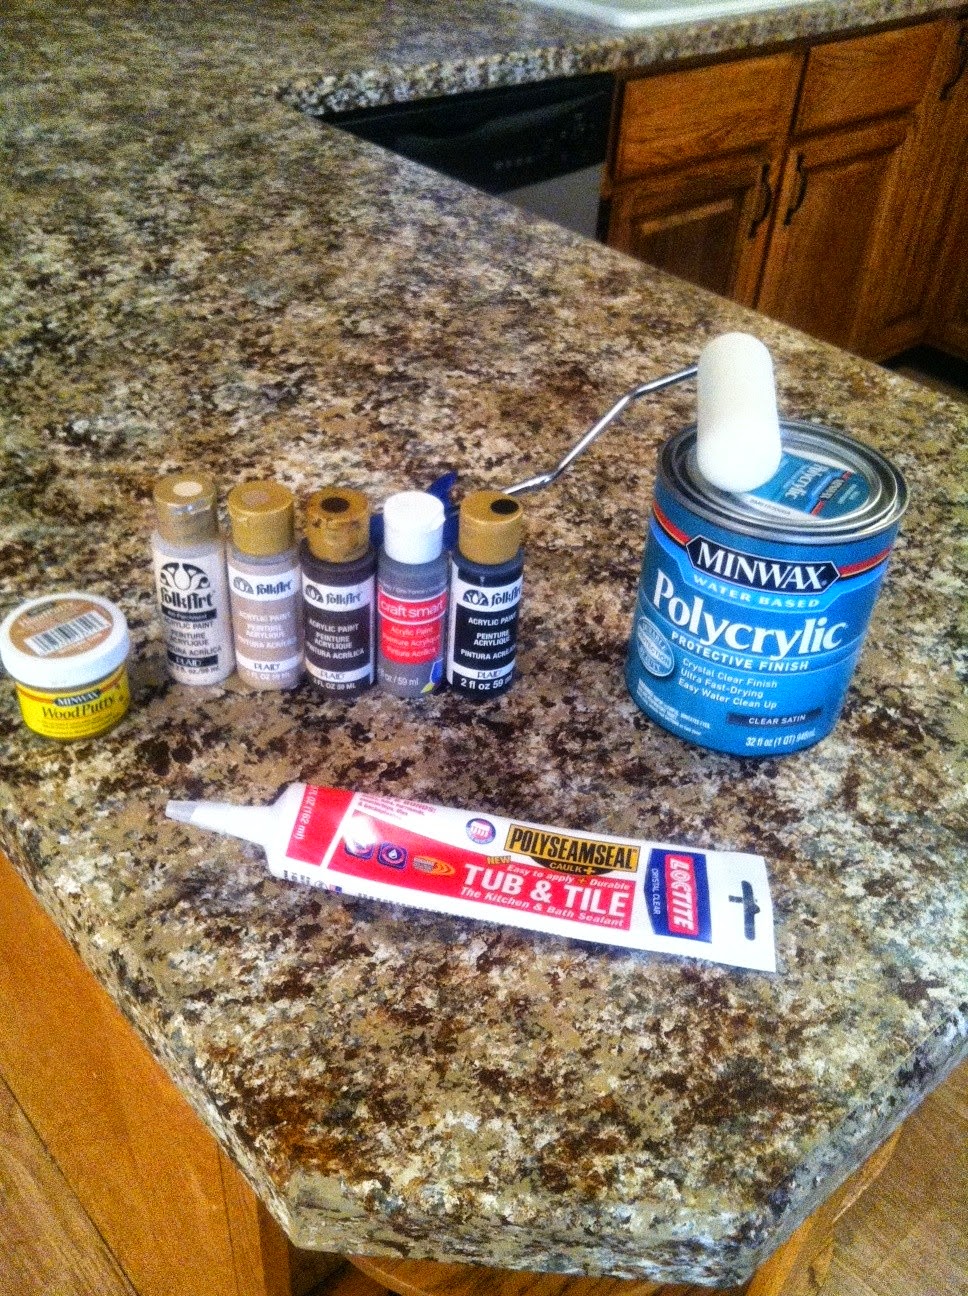
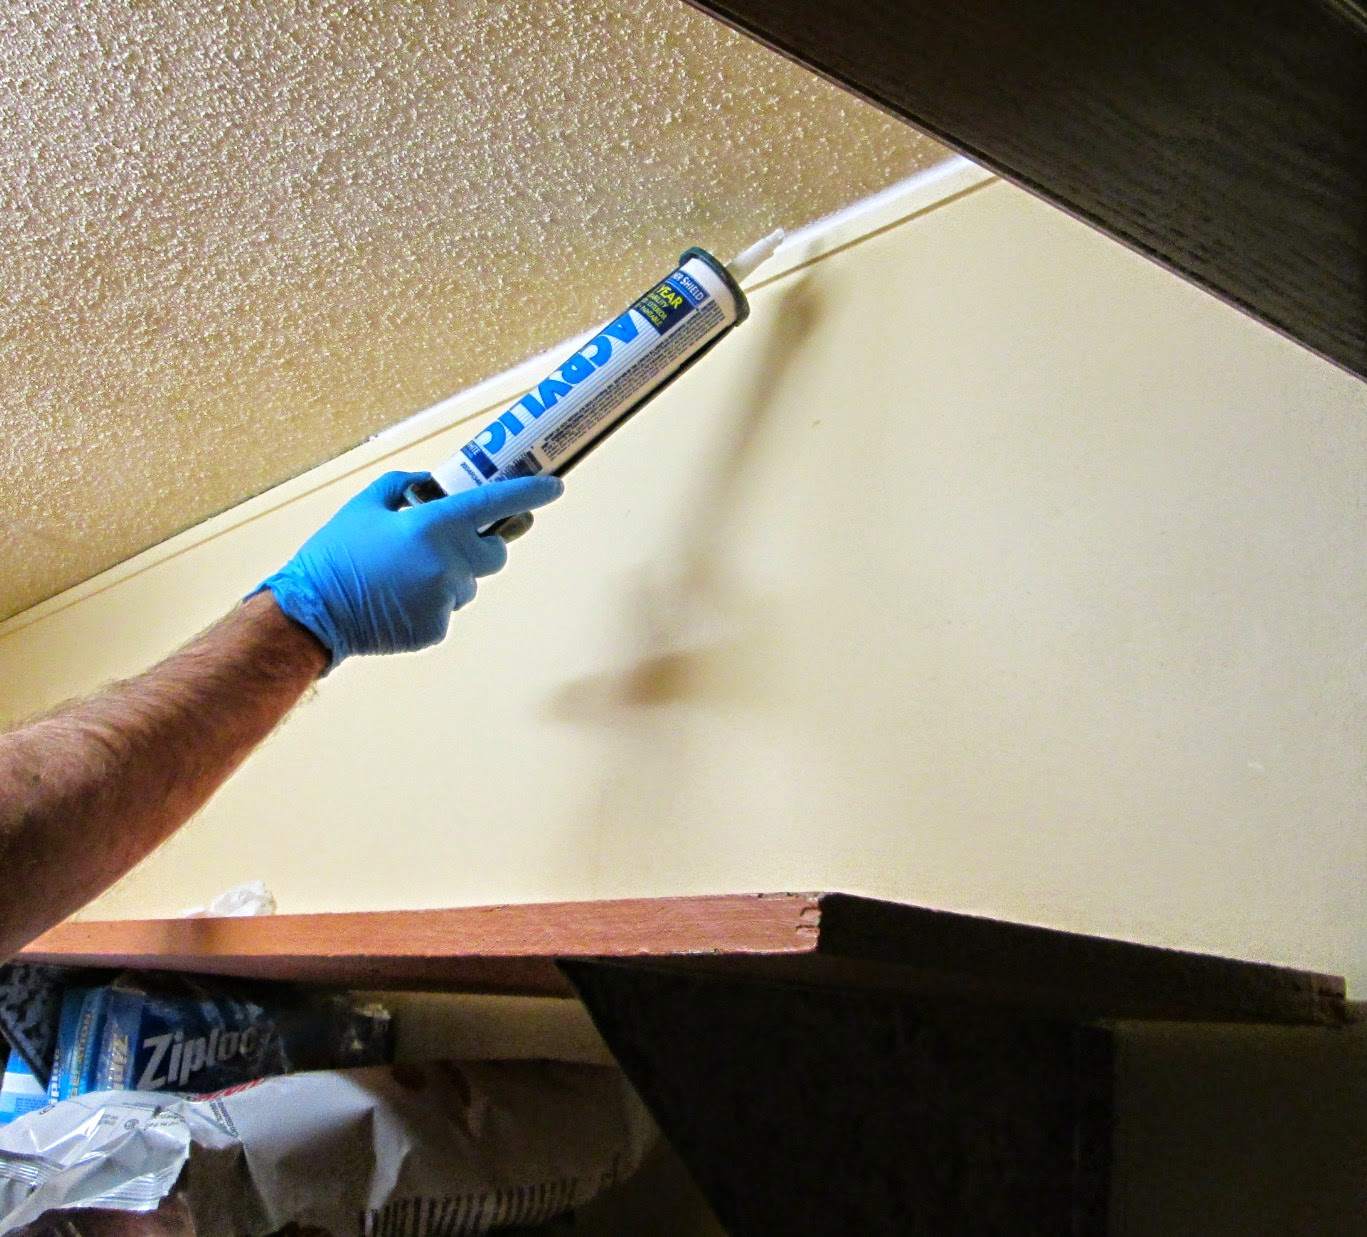
Today's project is to get a couple of good coats of Zinsser Primer on this and then try my hand
at painting my countertop.
I've purchased some acrylic paints in different shades of grey.


Wish me luck...
I'll be back in a few days to let you know which version I chose
and how it turned out!!

Cheryl

Friday, January 23, 2015

Ideas for the Master Bathroom...

We've been slowly and steadily making headway on our ensuite bathroom.

It's a very tiny room that was covered in 1970's wallpaper when we first moved in.

Picture...walnut stain cabinets with peach countertops and white 4x4 wall tiles on the floor.


And did I mention...shower doors with sailboats etched onto them.

I quickly ripped down the wallpaper, and it's pretty much been sitting this way for the past four months.

I've made a mood board with some ideas for the upgrade and slowly we've been knocking them off.


First up - paint the cabinet black (similar to the one in this photo from Decor Adventures)
 and replace or paint the countertop.

We have purchased new faucets and cabinet hardware already.  

Next paint the wall behind the cabinet and the wall with the shower a soft grey, 
similar to Gray Owl by Benjamin Moore.

The other two walls will get planking with vinyl peel and stick flooring similar to what is shown.  

We are taking the shower doors off and replacing them with a satin nickel finish shower rod and this shower curtain that I have already purchased from Target on clearance.

I can't wait to show you how it all comes together!!

Monday, January 19, 2015

Laundry Closet for Christmas....Pantry Updates for the New Year

Wow - what a year end it was!!
Great changes in the Laundry Closet just before Christmas...
and a new pantry makeover for New Year's!

Because I had shingles and we couldn't go out and mingle to ring in the New Year, 
McG decided that we should take our holiday decorations down the morning of New Year's Eve. 

If truth be told, we probably wouldn't even put decorations up for the holidays if he had his way...
he's a bit of a SCROOGE!!  But, I'm quite the opposite and I really LOVE Christmas!!

I agreed that it would be the perfect time to take them down though,
 since they had been up since the end of November.  

Once the boxes were out of the pantry, McG felt that he should use
 this opportunity to spruce up the pantry with new flooring and paint. 
The old floor looked like this...


 A not too pretty pattern from the 70's.  It was even pieced in at one point.


There was no caulking or trim either.  I guess it's only a pantry but McG definitely felt it needed an upgrade.  Truth be told I did too, but it wasn't high on my priority list.


 Who am I to argue though when he gets an idea in his head!!  LOL  
 With a quick trip to Home Depot he purchased the same flooring we put into the laundry closet.


It's a great, high quality vinyl tile that looks like ceramic and is groutable.
  We didn't grout it however.  It's easy to install, just peel and stick.

Before the tile got installed he decided to shore up the floor with some leftover wood he had from the flooring project in the laundry closet.  


You will also notice that he painted the walls.  
Before he could do that though, he caulked around the perimeter of the room with paintable caulking.


The room was an off white that had yellowed over the years. 
 We hadn't expected to paint, but we found half a gallon of white paint to which we added two sample pots, one a soft blue and the other a soft grey color. 
 We ended up with a great blue-grey color that really freshened up the space,
 and at NO COST, it was a great bonus!


Note to self...remove the beer bottle before taking pictures! 
 He was celebrating early...it was New Year's Eve after all!!


The existing shelving has these great galvanized metal brackets
...that unfortunately he started painting before I could get there.
I did get him to stop so they weren't totally ruined.


Once the walls were painted a good coat, he tackled the floor. 
 The room is exactly 3 feet by 11 1/2 feet, so the tiling took no time at all. 
 We worked in tandem, me handing him the tiles and him putting them in.
 There wasn't room for us both to work in there with it being so narrow.


Once the floor was installed he caulked around the walls again since we would not be putting trim on.


Then we could start filling it up again!


We have plans to change out the shelves with stained wood, 
but for now we left the existing shelves as is.

It's great to have another room off the to-do list. 
 Secretly I think McG prefers these tiny rooms
...he's now onto the ensuite bathroom which is the next tiny room on the list!!


Sunday, January 18, 2015

Sunlit Sunday

I'm linking up over @ My Little Home and Garden today.

It's been a cold week here with just small peaks of sun.

I took these pictures especially for this party...they are of the sunset Wednesday evening this week.


It had snowed most of the day...and it was good to finally see the sun!


If you need some sunshine in your life today...
head on over to My Little Home and Garden and tell Karen that I sent you!!

Cheryl

Linking up @:
My Little Home and Garden

Saturday, January 03, 2015

Updates to the Laundry Closet - our Christmas project!

It's been a long time coming...and I should have gotten this posted sooner, but life takes over sometimes.  Especially at the holidays and when you are sick.

I contracted a cold that turned into a sinus infection over the Christmas holidays and for New Year's I had the shingles.  To say that I'm looking forward to a HEALTHY 2015 would be an understatement at this point!

But it seems, even though I was sick  - LOTS was accomplished over the holidays.

Today's reveal is the new and improved laundry closet.

This project was WAY DOWN  on the list of things to do, but it quickly got pushed up to the top of the list when the extra fridge we had in our garage died two weeks before Christmas.  I went out there one afternoon to look for something to cook for dinner and realized that pretty much everything in there was defrosted!!  UGH!!

We knew we wanted to upgrade the fridge in our kitchen to stainless steel, so we worked on making space in the closet to house the old fridge from the kitchen as our new "extra" fridge.  This would be much easier then trekking out to the garage everytime we wanted something to cook.  It would also give us extra space for pop and other beverages and free up some space in the kitchen fridge.

Here is the closet...


It houses our washer and dryer and laundry sink.


It had cabinets across the whole closet at the top that provided great storage, but we needed to get rid
of one section in order to make room for the fridge.

The walls were dark panelling that was painted an off white many years ago.


And they had "great" linoleum floors from the 70's!


I primed the walls and painted the cabinets a fresh coat of semigloss white paint.
McG put down new sub flooring right over the existing floor.
  He also put in new electrical boxes and switches.


He then added melamine boards to the wall four feet up all the way around the room.


We purchased vinyl tiles for the floor.  These are high quality and groutable, but we chose not to grout them.


Here's a closer look.


 We painted the upper portion of the panelling Designer Grey which is a pre-mixed Home Trends paint by CIL we purchased at Wal-Mart.


McG added a PVC trim to the top of the melamine wainscotting and a shelf for me to store my laundry soap on.

You can see the fridge there in the back of this photo,


Here's a closer look at the shelf, which he stained with some leftover mahogany stain we had from the stairs at the other house.  We purchased two inexpensive metal brackets to mount the shelf.


This project came together fairly quickly because we had a deadline to have the old fridge moved out of the kitchen so that the new one could be installed just after Christmas.

The room is so much brighter and now that we moved the dryer down in the room next to the washer, it makes doing laundry a whole lot more pleasant!!

Did you do any projects just before Christmas?  I'd love to hear about them!!